Plywood veneer sheets are a popular choice for enhancing the aesthetic appeal of furniture, cabinetry, and interior surfaces. Their versatility and ability to provide a high-end look make them a favorite among DIY enthusiasts and professionals alike. If you’re planning to install quality plywood veneer sheets, understanding the right techniques is crucial for achieving a flawless finish. Let’s discuss the step-by-step process and best practices for installing plywood veneer sheets.
Understanding Plywood Veneer
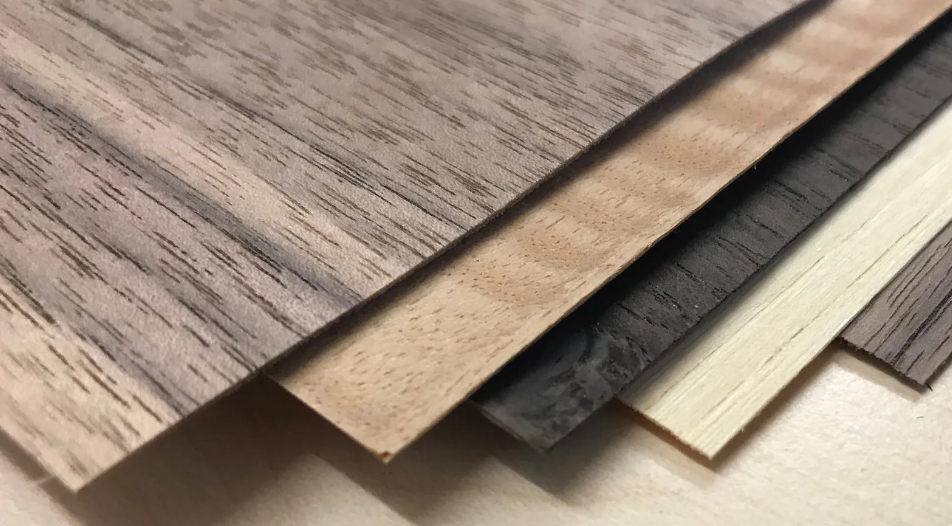
Before we dive into the installation techniques, it’s essential to understand what plywood veneer is. Veneer refers to thin slices of wood, typically less than 3 mm thick, that are glued onto core panels (usually made of plywood, MDF, or particleboard). This provides the appearance of solid wood at a fraction of the cost.
But how do you ensure a smooth and professional-looking installation?
Preparing for Installation
Proper preparation is the key to a successful installation. Here are the steps you need to follow:
Gather Your Tools and Materials
Make sure you have all the necessary tools and materials before you start. You will need:
- Plywood veneer sheets
- Contact cement or veneer adhesive
- A utility knife or veneer saw
- Sandpaper (various grits)
- A roller or veneer scraper
- A measuring tape
- A straight edge or ruler
- Clamps (if necessary)
Prepare the Surface
The surface onto which you’ll apply the veneer must be smooth, clean, and free of dust or grease. Sand the surface lightly to ensure good adhesion. Wipe it down with a clean, damp cloth to remove any dust.
Cutting the Veneer
Accurate cutting of the veneer sheets is critical for a seamless finish. Let’s discuss how to do it:
Measure and Mark
Measure the surface area where the veneer will be applied. Use a straight edge to mark the veneer sheets according to these measurements. It’s often a good idea to cut the veneer slightly larger than needed and trim it down after application for a perfect fit.
Cut the Veneer
Use a sharp utility knife or a veneer saw to cut along the marked lines. Make several passes with the knife to ensure a clean cut without tearing the veneer.
But what about the adhesive?
Applying the Adhesive
The adhesive you use can significantly impact the final result. Here’s how to apply it correctly:
Choose the Right Adhesive
Contact cement is commonly used for veneer application because it provides a strong bond. However, water-based veneer adhesives are also available and can be easier to work with, especially for large surfaces.
Apply the Adhesive Evenly
Apply a thin, even layer of adhesive to both the surface and the back of the veneer sheet. If you’re using contact cement, let it dry until it’s tacky to the touch (usually 15-20 minutes). For other adhesives, follow the manufacturer’s instructions.
Positioning and Securing the Veneer
Once the adhesive is ready, it’s time to position and secure the veneer:
Align and Place the Veneer
Carefully align the veneer sheet with the edges of the surface. Starting at one end, gradually press the veneer onto the surface, smoothing it down with your hands to avoid air bubbles.
Use a Roller or Scraper
Use a roller or veneer scraper to press the veneer firmly onto the surface, working from the center outward to ensure good adhesion and remove any air bubbles.
Trimming and Finishing
After the veneer is securely in place, you’ll need to trim the edges and finish the surface:
Trim the Edges
Use a utility knife or veneer saw to trim any excess veneer along the edges. Sand the edges lightly to smooth them out and ensure they blend seamlessly with the surface.
Sand the Surface
Lightly sand the veneered surface with fine-grit sandpaper to smooth out any imperfections and prepare it for finishing.
Apply a Finish
Applying a finish protects the veneer and enhances its appearance. Choose a finish that suits your project, such as varnish, lacquer, or polyurethane. Apply the finish according to the manufacturer’s instructions, and allow it to dry completely.
Tips for a Professional Finish
- Work in a Dust-Free Environment: Dust can interfere with adhesion and the final appearance of the veneer.
- Use Clamps for Large Surfaces: If you’re veneering a large surface, use clamps to hold the veneer in place while the adhesive dries.
- Take Your Time: Rushing the process can lead to mistakes. Take your time to ensure each step is done correctly.
Troubleshooting Common Issues
Even with careful preparation and execution, issues can arise. Here’s how to handle some common problems:
Air Bubbles
If you notice air bubbles under the veneer, use a pin to puncture the bubble and release the air. Then press the area down firmly.
Lifting Edges
If the edges of the veneer start to lift, apply a small amount of adhesive under the edge and press it down with a roller or scraper.
Conclusion: Achieving a Perfect Veneer Installation
Installing plywood veneer sheets can transform the look of your furniture or interior surfaces, giving them a polished, high-end appearance. By following these techniques and best practices, you can achieve a professional finish that enhances the beauty and durability of your projects.
Have you tried installing veneer sheets before? Let’s discuss your experiences and any tips you might have. Share your stories and questions, and let’s make every veneering project a success!